Gadgets and Tech
6 min read
The Ultimate Guide to Setting Up Your Trak Racer Sim Rig at Home
October 12 , 2025
By Sharib
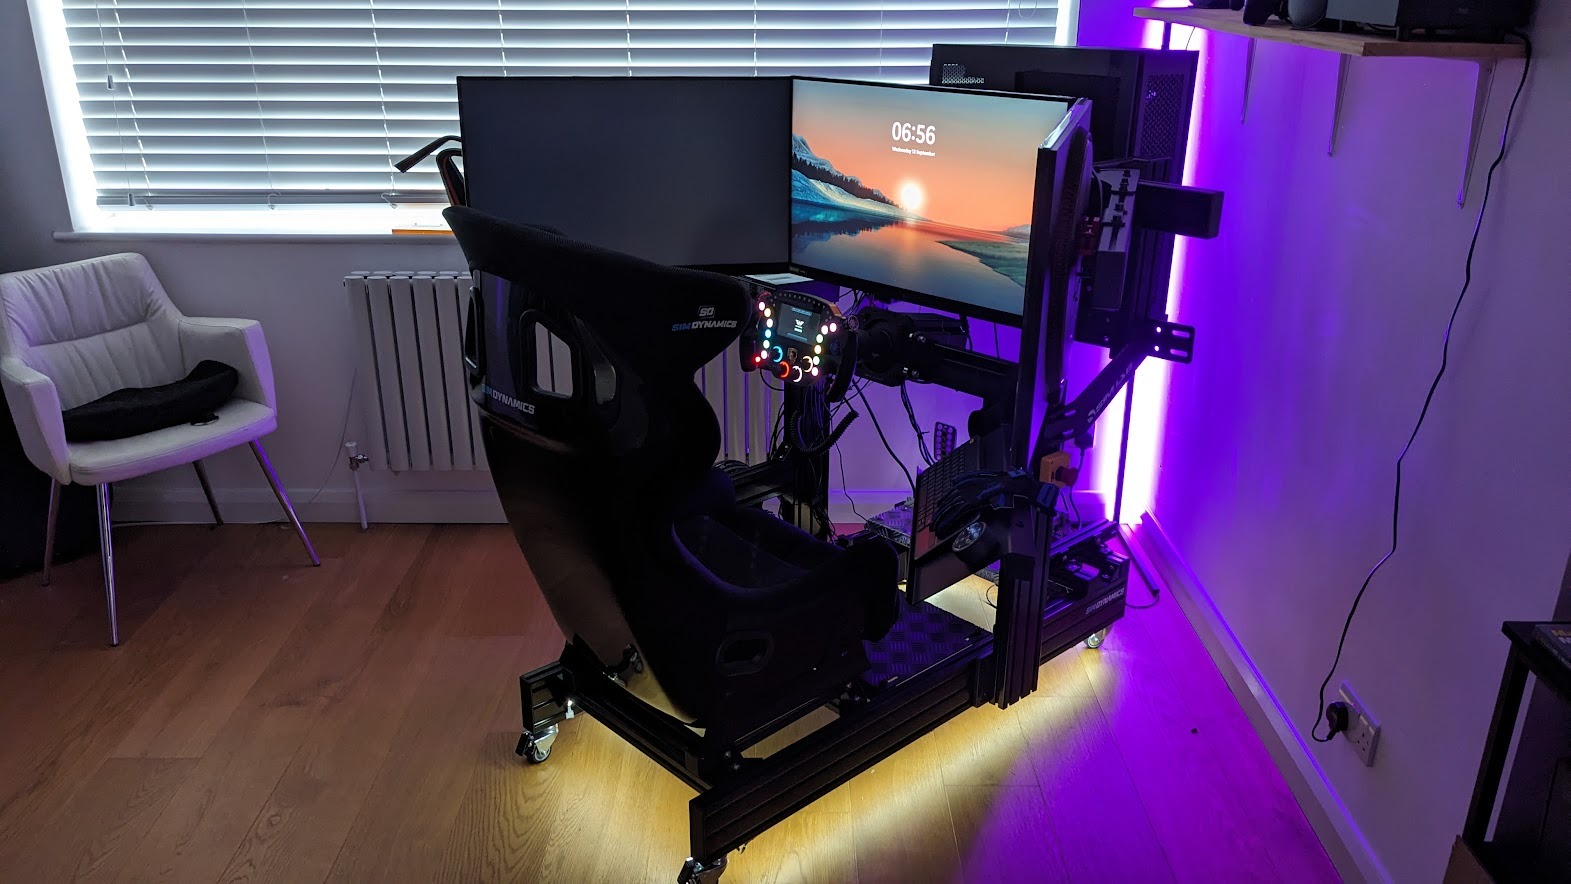
Sim racing has grown from a casual hobby into a fully immersive experience — one that can replicate real track dynamics, car handling, and cockpit ergonomics right from your home. And if you want to build a setup that balances comfort, performance, and realism, Trak Racer is one of the most trusted names in the game. Their rigs — from the TR8 Pro and TR80 to the TR120 and TR160 — are engineered for stability, adjustability, and long-term durability.
But owning a great rig is only the first step. To get the most from it, you need to assemble it correctly, place your components in the right positions, and fine-tune your environment for the best racing experience.
This guide walks you through how to set up your Trak Racer sim rig at home, step-by-step — from assembly to ergonomics, add-ons, and optimization.
1. Choosing the Right Space for Your Sim Rig
Before building anything, decide where your rig will live.
Pick a stable, low-traffic area
Sim rigs vibrate, rock, and take space. Choose a spot:
- away from fragile décor
- with flat flooring
- that won’t disturb others in the house
A spare room, office corner, basement, or media room are ideal.
Check space requirements
A full cockpit requires room for:
- the cockpit frame
- your racing seat
- pedal extension
- monitor stand or triple-monitor setup
- space behind the seat to recline or adjust
On average, you need at least 4 ft × 6 ft of space.
Consider cable management
Pick a location with outlets nearby and space to route cables cleanly.
2. Step-by-Step Assembly of Your Trak Racer Rig
Every Trak Racer model has its own structure, but the general assembly process is similar. Here’s the core workflow.
Step 1: Unbox & Organize Components
Lay out:
- aluminum profile pieces
- brackets
- bolts and screws
- pedal plate
- wheel deck
- seat sliders
- monitor mount (if included)
Organize by length and type so the process is smoother.
Step 2: Build the Base Frame
Start with the horizontal base.
This foundational structure determines the rig’s stability, so ensure:
- all corners are square
- bolts are tightened evenly
- the frame sits flush on the floor
Step 3: Install the Pedal Deck
Position the pedal plate toward the front.
Pro tip: If you use load-cell pedals or hydraulic systems, set the pedal plate at a slight angle for better realism.
Set it to match your driving style:
- Formula-style: steep, closer to seat
- GT-style: moderate angle
- Rally/Upright: flatter and farther forward
Step 4: Attach the Seat
Seat sliders make a huge difference. Install the sliders first, then mount your seat (bucket or recliner).
Adjust height so:
- knees bend at roughly 120°
- thighs rest comfortably
- you can fully depress pedals without stretching
Step 5: Install the Wheel Deck
Trak Racer offers:
- wheel decks
- front mounts
- side mounts (for direct-drive bases)
Make sure the wheel base sits firmly with:
- no flex
- direct alignment with seat center
DD wheels like Fanatec DD1/DD2 or Moza R21 benefit most from front or side mounting.
Step 6: Add the Monitor Stand
If your rig didn’t include a stand, add a Trak Racer monitor mount (single or triple).
Position the screen:
- eye-level with track horizon
- 20–30 inches away
- angled slightly for wider field of view
Triple screens should form a 180° semicircle for best immersion.
Step 7: Add Shifters & Handbrake Mounts
Install side mounts for:
- H-pattern shifters
- sequential shifters
- handbrakes
- button boxes
Position them so your hand reaches naturally without bending.
3. Positioning Components for Maximum Realism
Wheel Position
Align the wheel so:
- the center of the wheel meets the center of your chest
- angle is 0–15 degrees (GT) or 20–30 (Rally)
- distance allows elbows to stay slightly bent
Proper wheel height prevents shoulder fatigue during long races.
Pedal Positioning
Good pedal positioning improves consistency. Set:
- brake pedal at highest resistance preference
- gas pedal slightly lower
- pedals distance aligned with your leg length
If using load-cell or hydraulic pedals, make sure the plate doesn’t flex — Trak Racer frames handle high brake forces well.
Seat Positioning
Adjust based on racing type:
- GT/Street: 30–40° recline
- Formula: 10–20° recline, lower seating
- Rally: more upright, 50–60°
Feel for natural body alignment — if you feel strain, adjust until neutral.
Monitor Placement
Your screens determine immersion. Use these guidelines:
- Eyes should meet the middle of the screen
- Top of monitor slightly above eye-level
- Triple screens angled inward at 45°
- Distance: 1–1.2× the screen width
If you use VR, ensure:
- cable slack
- ventilation
- enough space for head movement
4. Adding Accessories to Complete Your Trak Racer Setup
✔ Shifter + Handbrake
Mount the shifter on the right (or left if preferred).
Position handbrake slightly forward for rally/drift setups.
✔ ButtKickers & Motion Systems
Trak Racer frames are motion-compatible.
Add tactile transducers under the seat or pedals for:
- engine vibration
- kerb feedback
- braking feel
Motion add-ons (like surge, traction loss, or full-frame movement) elevate immersion further.
✔ Keyboard & Mouse Tray
If you stream, tune settings, or do telemetry work, a keyboard tray is essential.
✔ Cable Management
Use:
- Velcro straps
- Under-frame routing
- Side channels in aluminum profiles
Clean cables reduce distractions and improve safety.
LED lighting
RGB lighting behind the rig enhances ambience and looks great on camera if you stream.
5. Optimizing Your Rig for Comfort & Long Races
Adjust Ergonomics Over Time
Spend your first month making small tweaks.
Your body will naturally tell you what needs adjustment.
Use Cushions or Seat Pads
Even racing seats need extra padding for endurance sessions.
Stay Cool
Add a small desktop fan to simulate airflow and reduce sweat.
Create a “Racing Zone”
Add décor like:
- track posters
- shelves for steering wheels
- LED strips
- headset stands
Make your space feel like a personal garage.
6. Final Checklist Before Your First Race
Before launching your first lap, confirm:
- Wheel base is firmly tightened
- Pedals do not wobble
- Seat is locked in position
- Monitor stands are secure
- Cables are neatly tied
- Your driving posture feels natural
- Force feedback is calibrated
Once everything feels right, jump into your favorite sim — whether it’s iRacing, Assetto Corsa, rFactor, or F1 — and test your comfort.
Setting up a Trak Racer sim rig at home is more than just assembling parts, it’s about creating an immersive environment where comfort, realism, and performance come together. With the right placement of your wheel, pedals, monitor, and accessories, even a small space can become your personal racing cockpit. Take your time fine-tuning ergonomics, explore add-ons gradually, and most importantly, enjoy the thrill of a fully immersive racing experience built just for you.
live smarter
Shop smarter, live better, and stay ahead of the trends with our reliable recommendations!


trending
Gadgets and Tech
4 min read
Top 10 Must-Have Tech Gadgets of 2026 That Will Simplify Your Life
Gadgets and Tech
4 min read
Elephant Robotics: Smart, Fun, and Useful Robots for Learning and Creating
Gadgets and Tech
7 min read
Why Small Moments Feel Bigger When You Capture Them?
Gadgets and Tech
5 min read
Indoor Golf Outlet: Bringing Golf Practice Indoors in a Simple Way
Gadgets and Tech
6 min read